Customer Support Guide
Welcome to the Quilr AI support documentation. This guide covers everything you need to know as a customer — from accessing the portal for the first time to filing and managing your support tickets.
Overview
Quilr AI's support system is built on Jira Service Management (JSM) Cloud, giving customers a clean portal to submit issues, ask questions, and suggest improvements.
What You Can Do
- Report product issues
- Ask questions about Quilr AI products
- Suggest improvements and new features
- Track ticket status and communicate with the support team
First Time Access
Step 1: Navigate to the Support Portal
Go to quilr.atlassian.net/helpcenter/CSM in your browser.
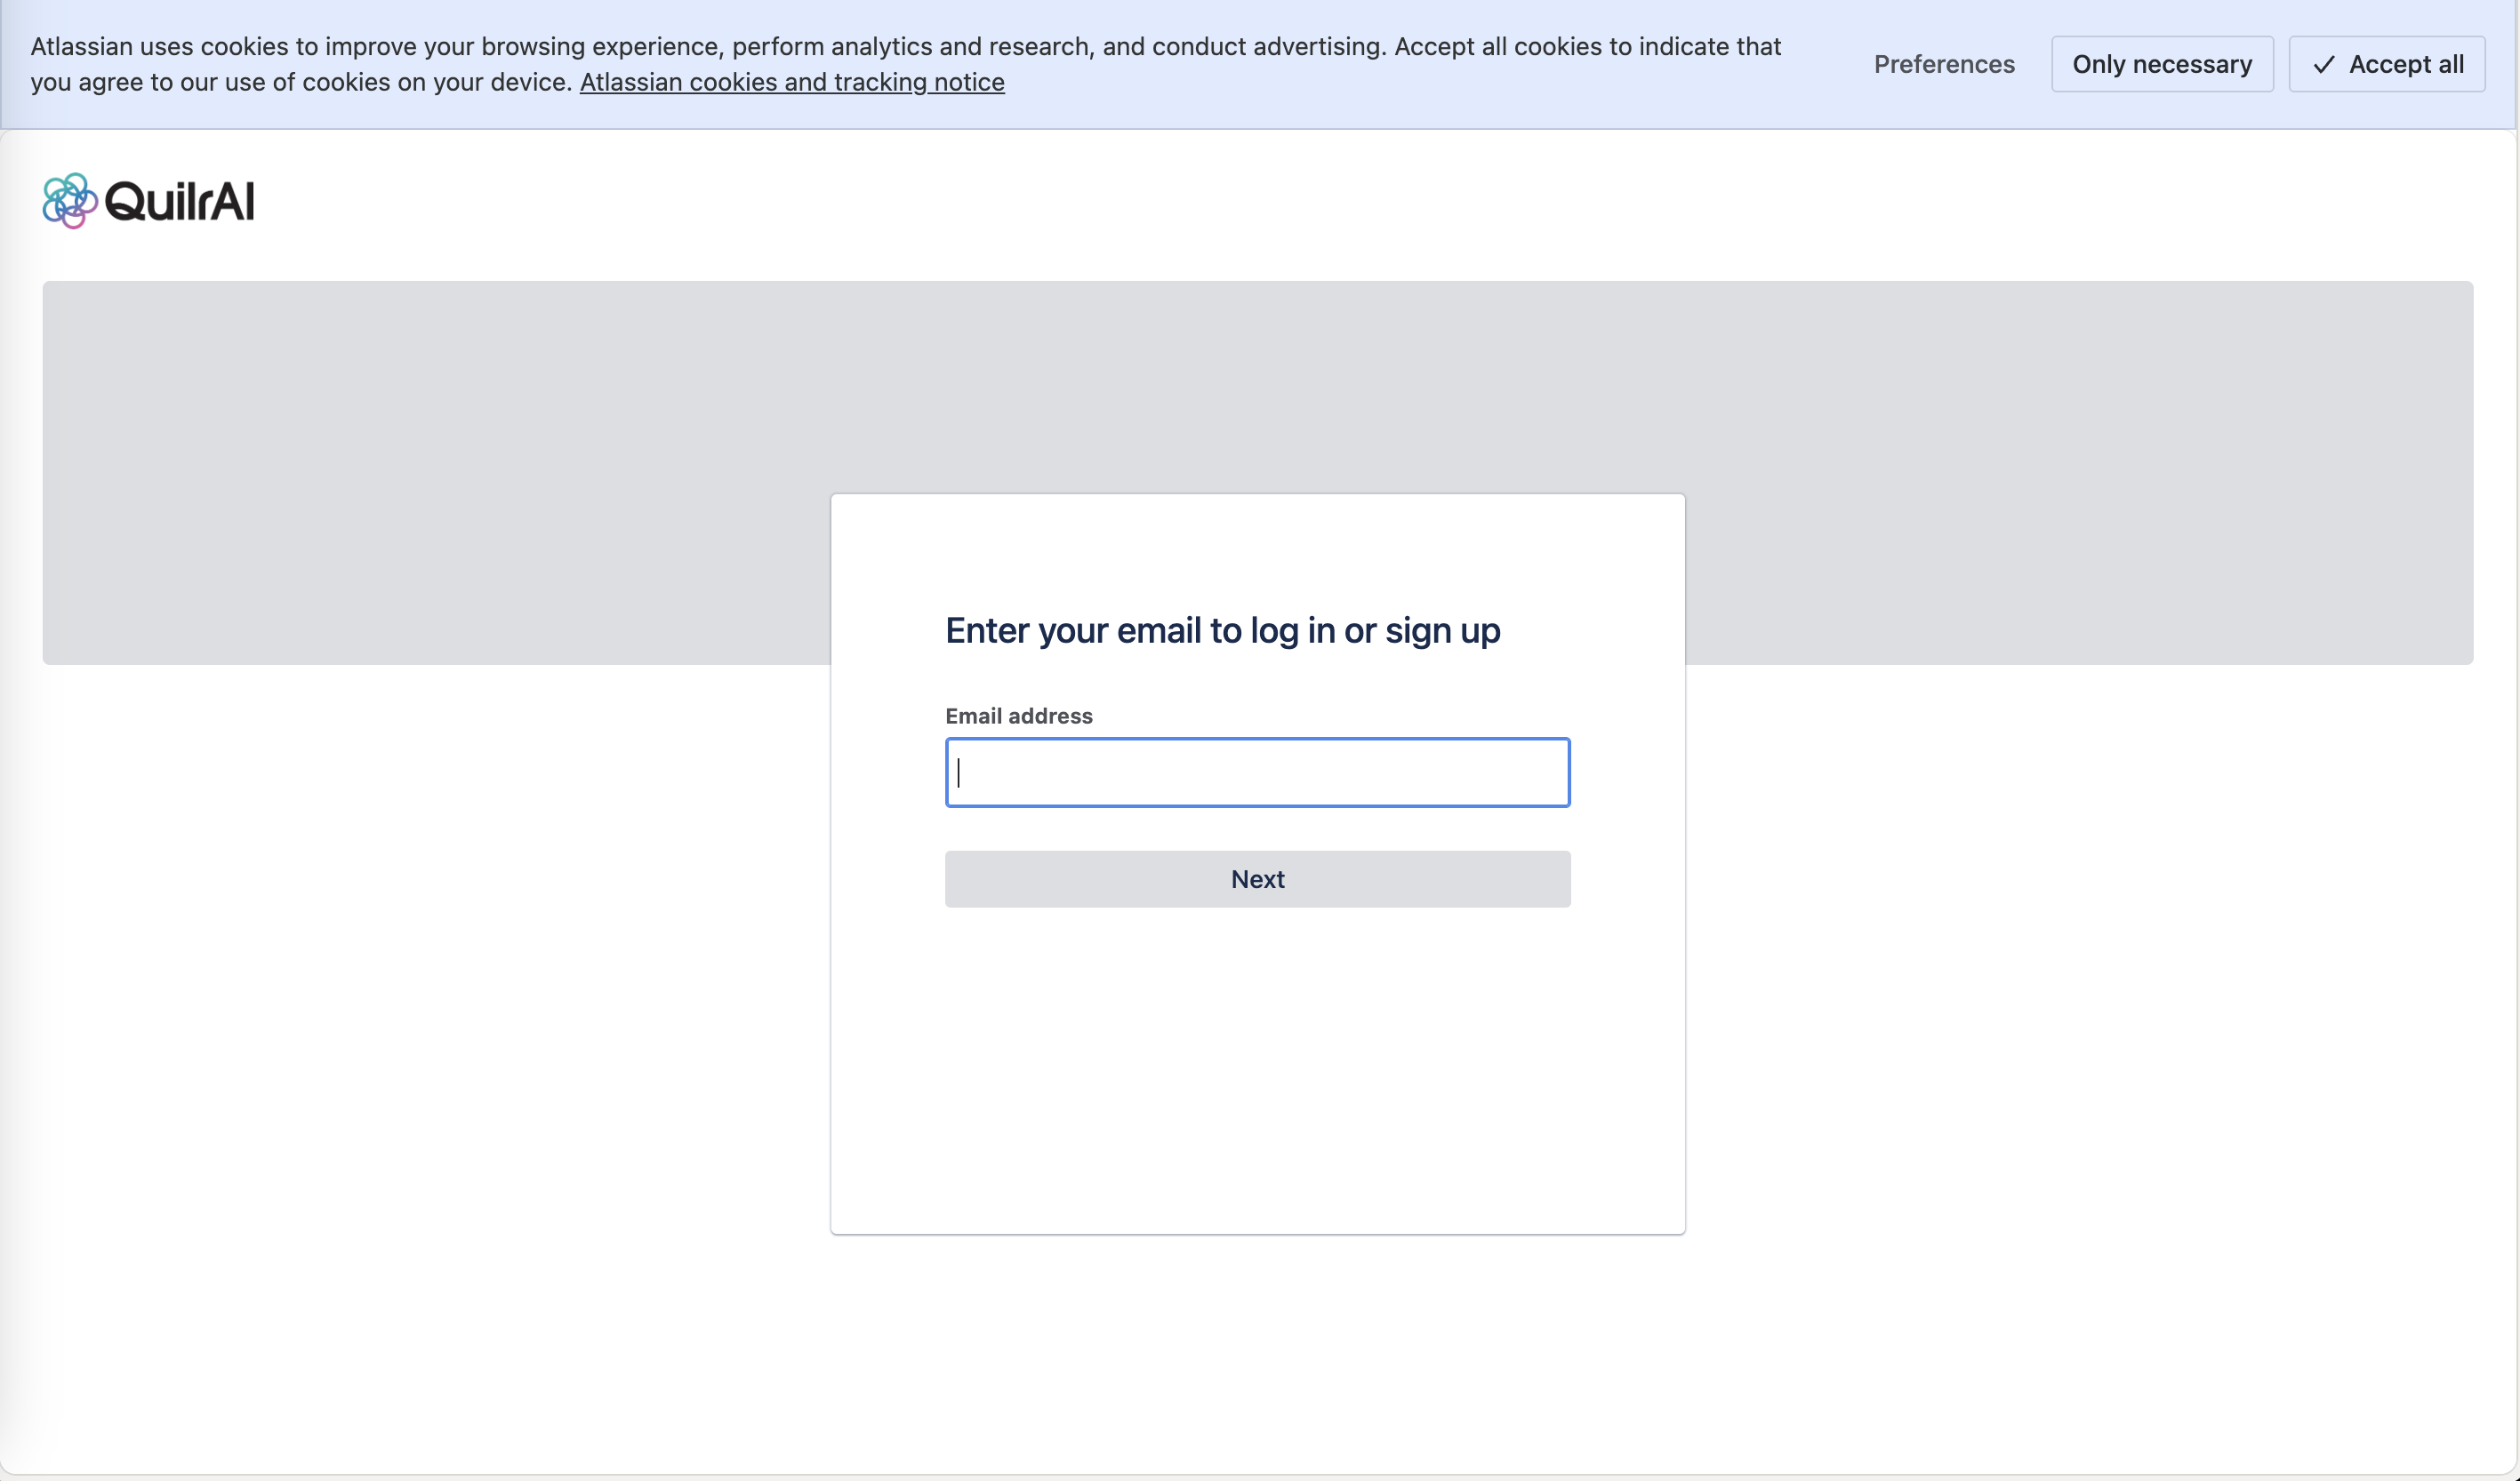
Step 2: Enter Your Email Address
Type your email address in the field and click Next.
Step 3: New vs. Returning User
If you're a new user:
- You'll be prompted to sign up and accept the privacy policy
- Click Sign up to proceed
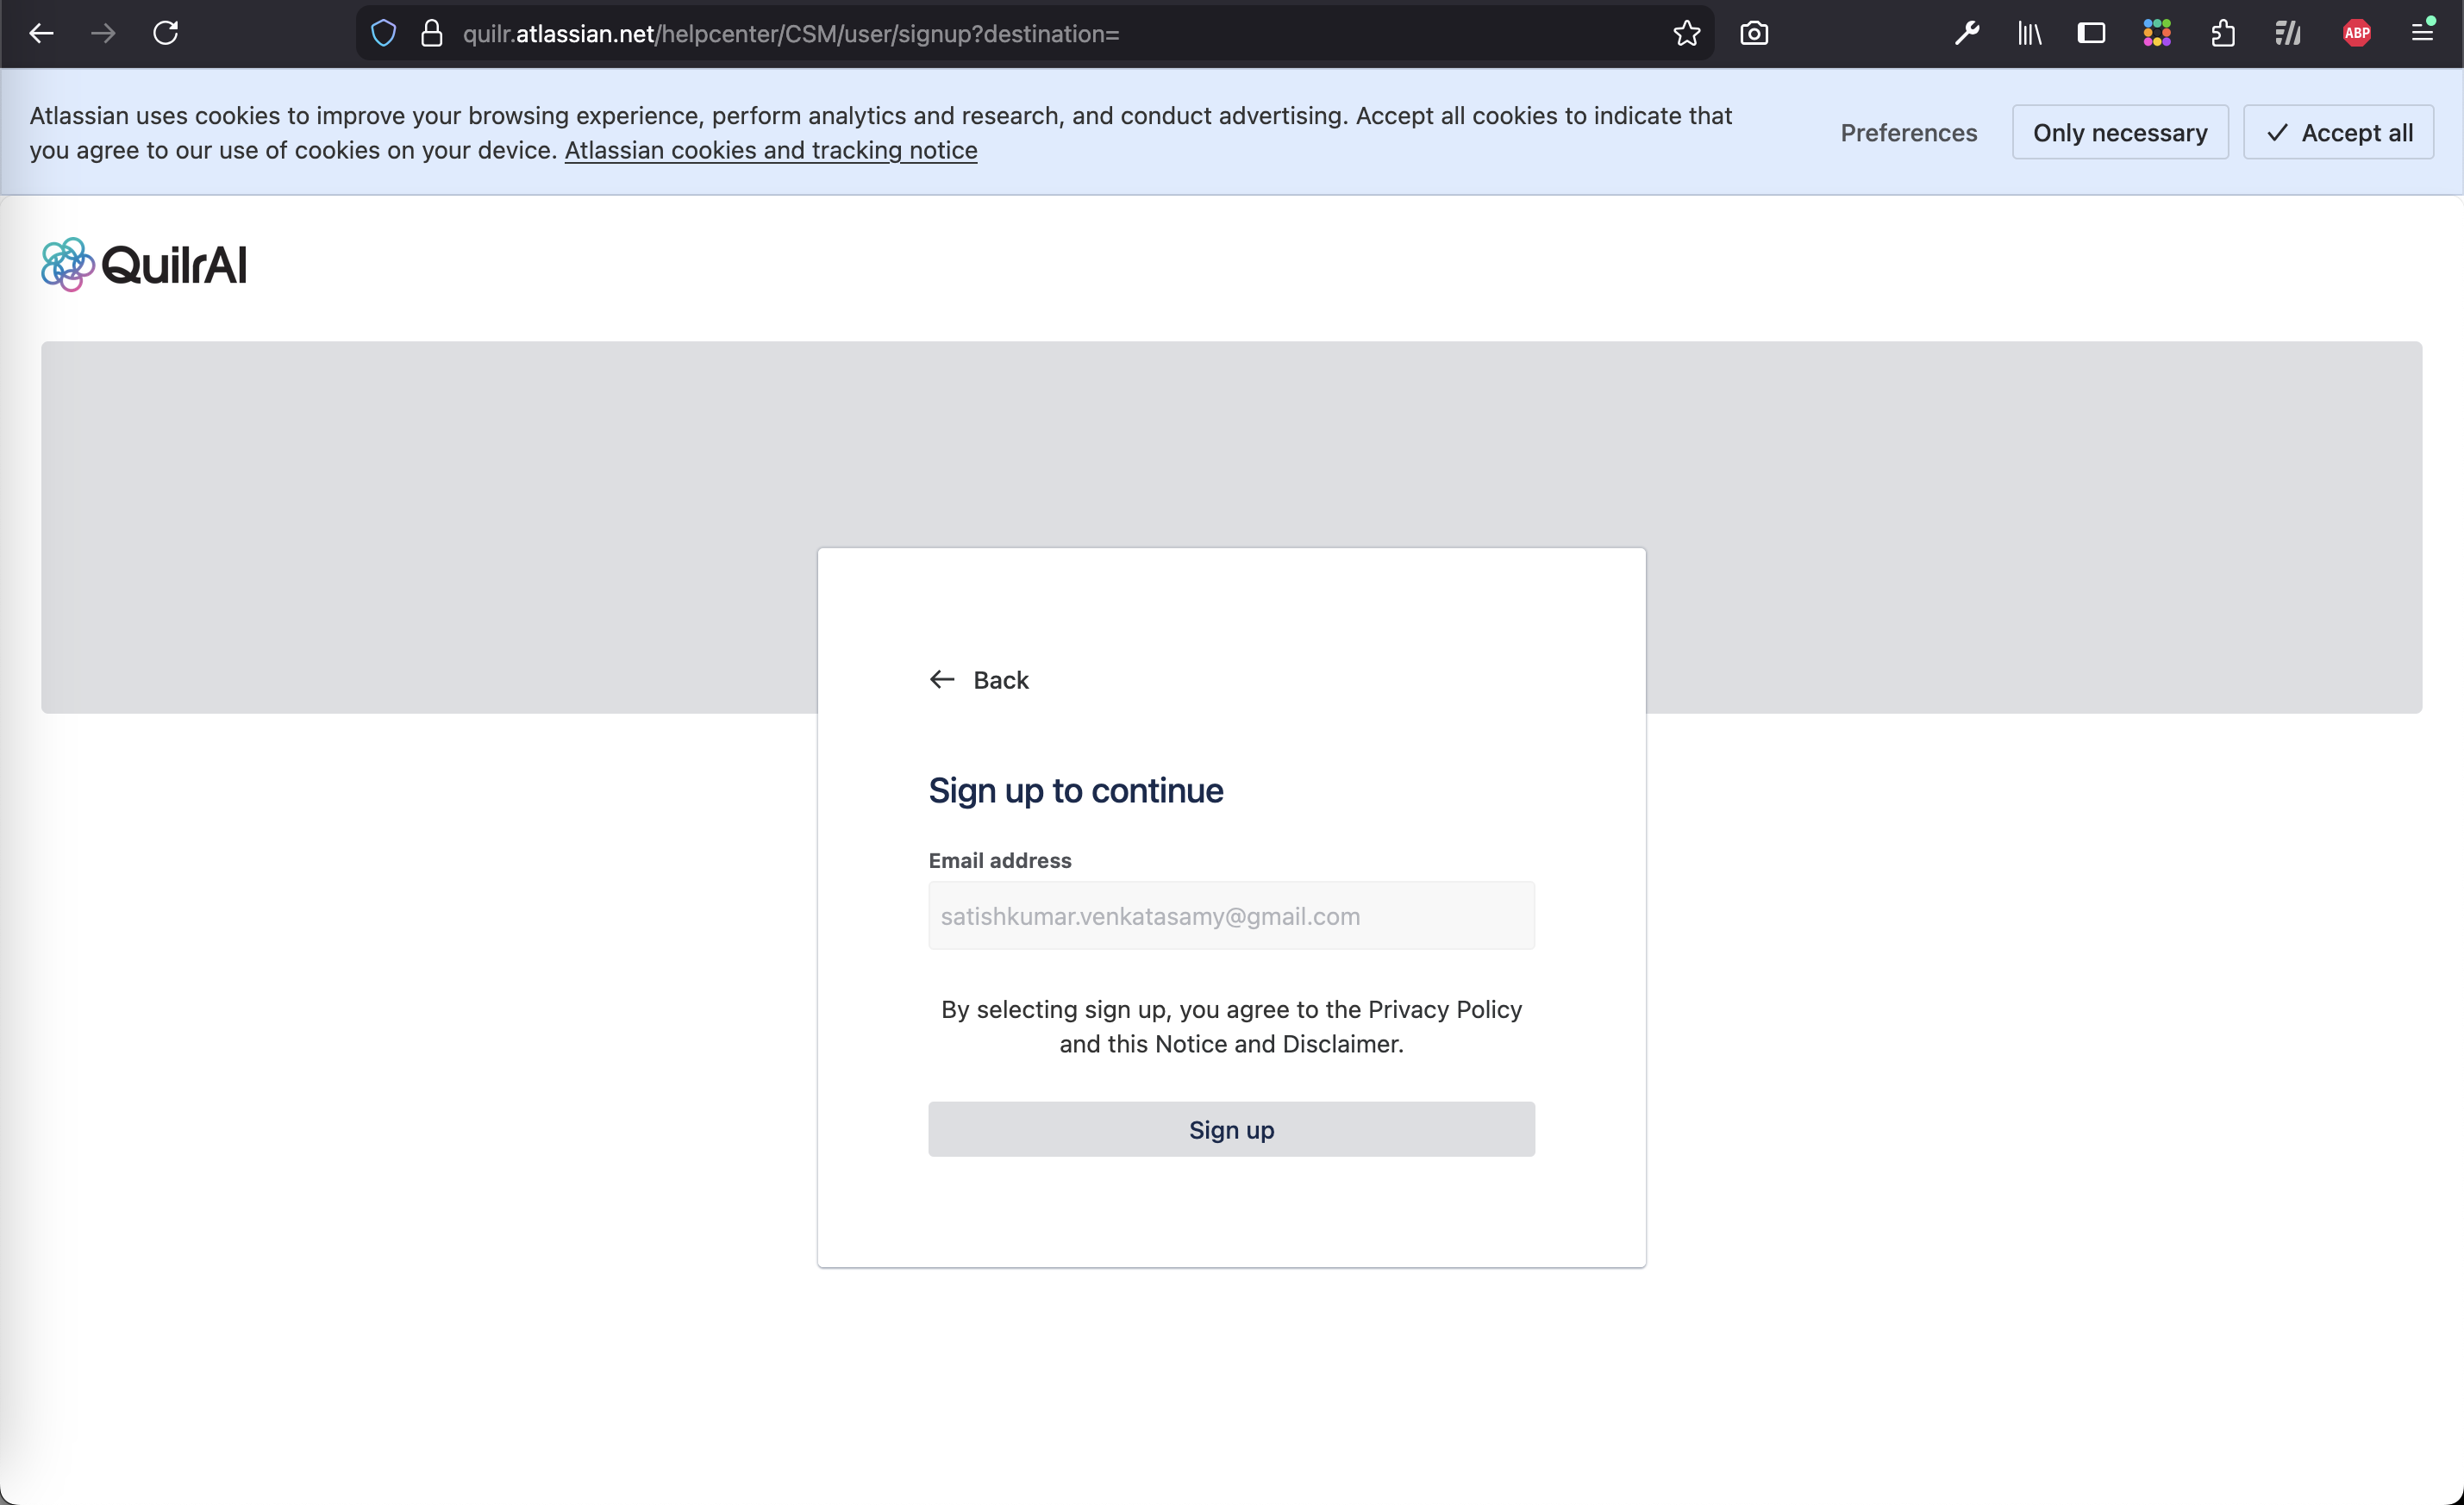
- Quilr AI support will send you a password reset email — check your inbox (and spam folder if you don't see it)
- Click the link in the email and set your password
If you're a returning user:
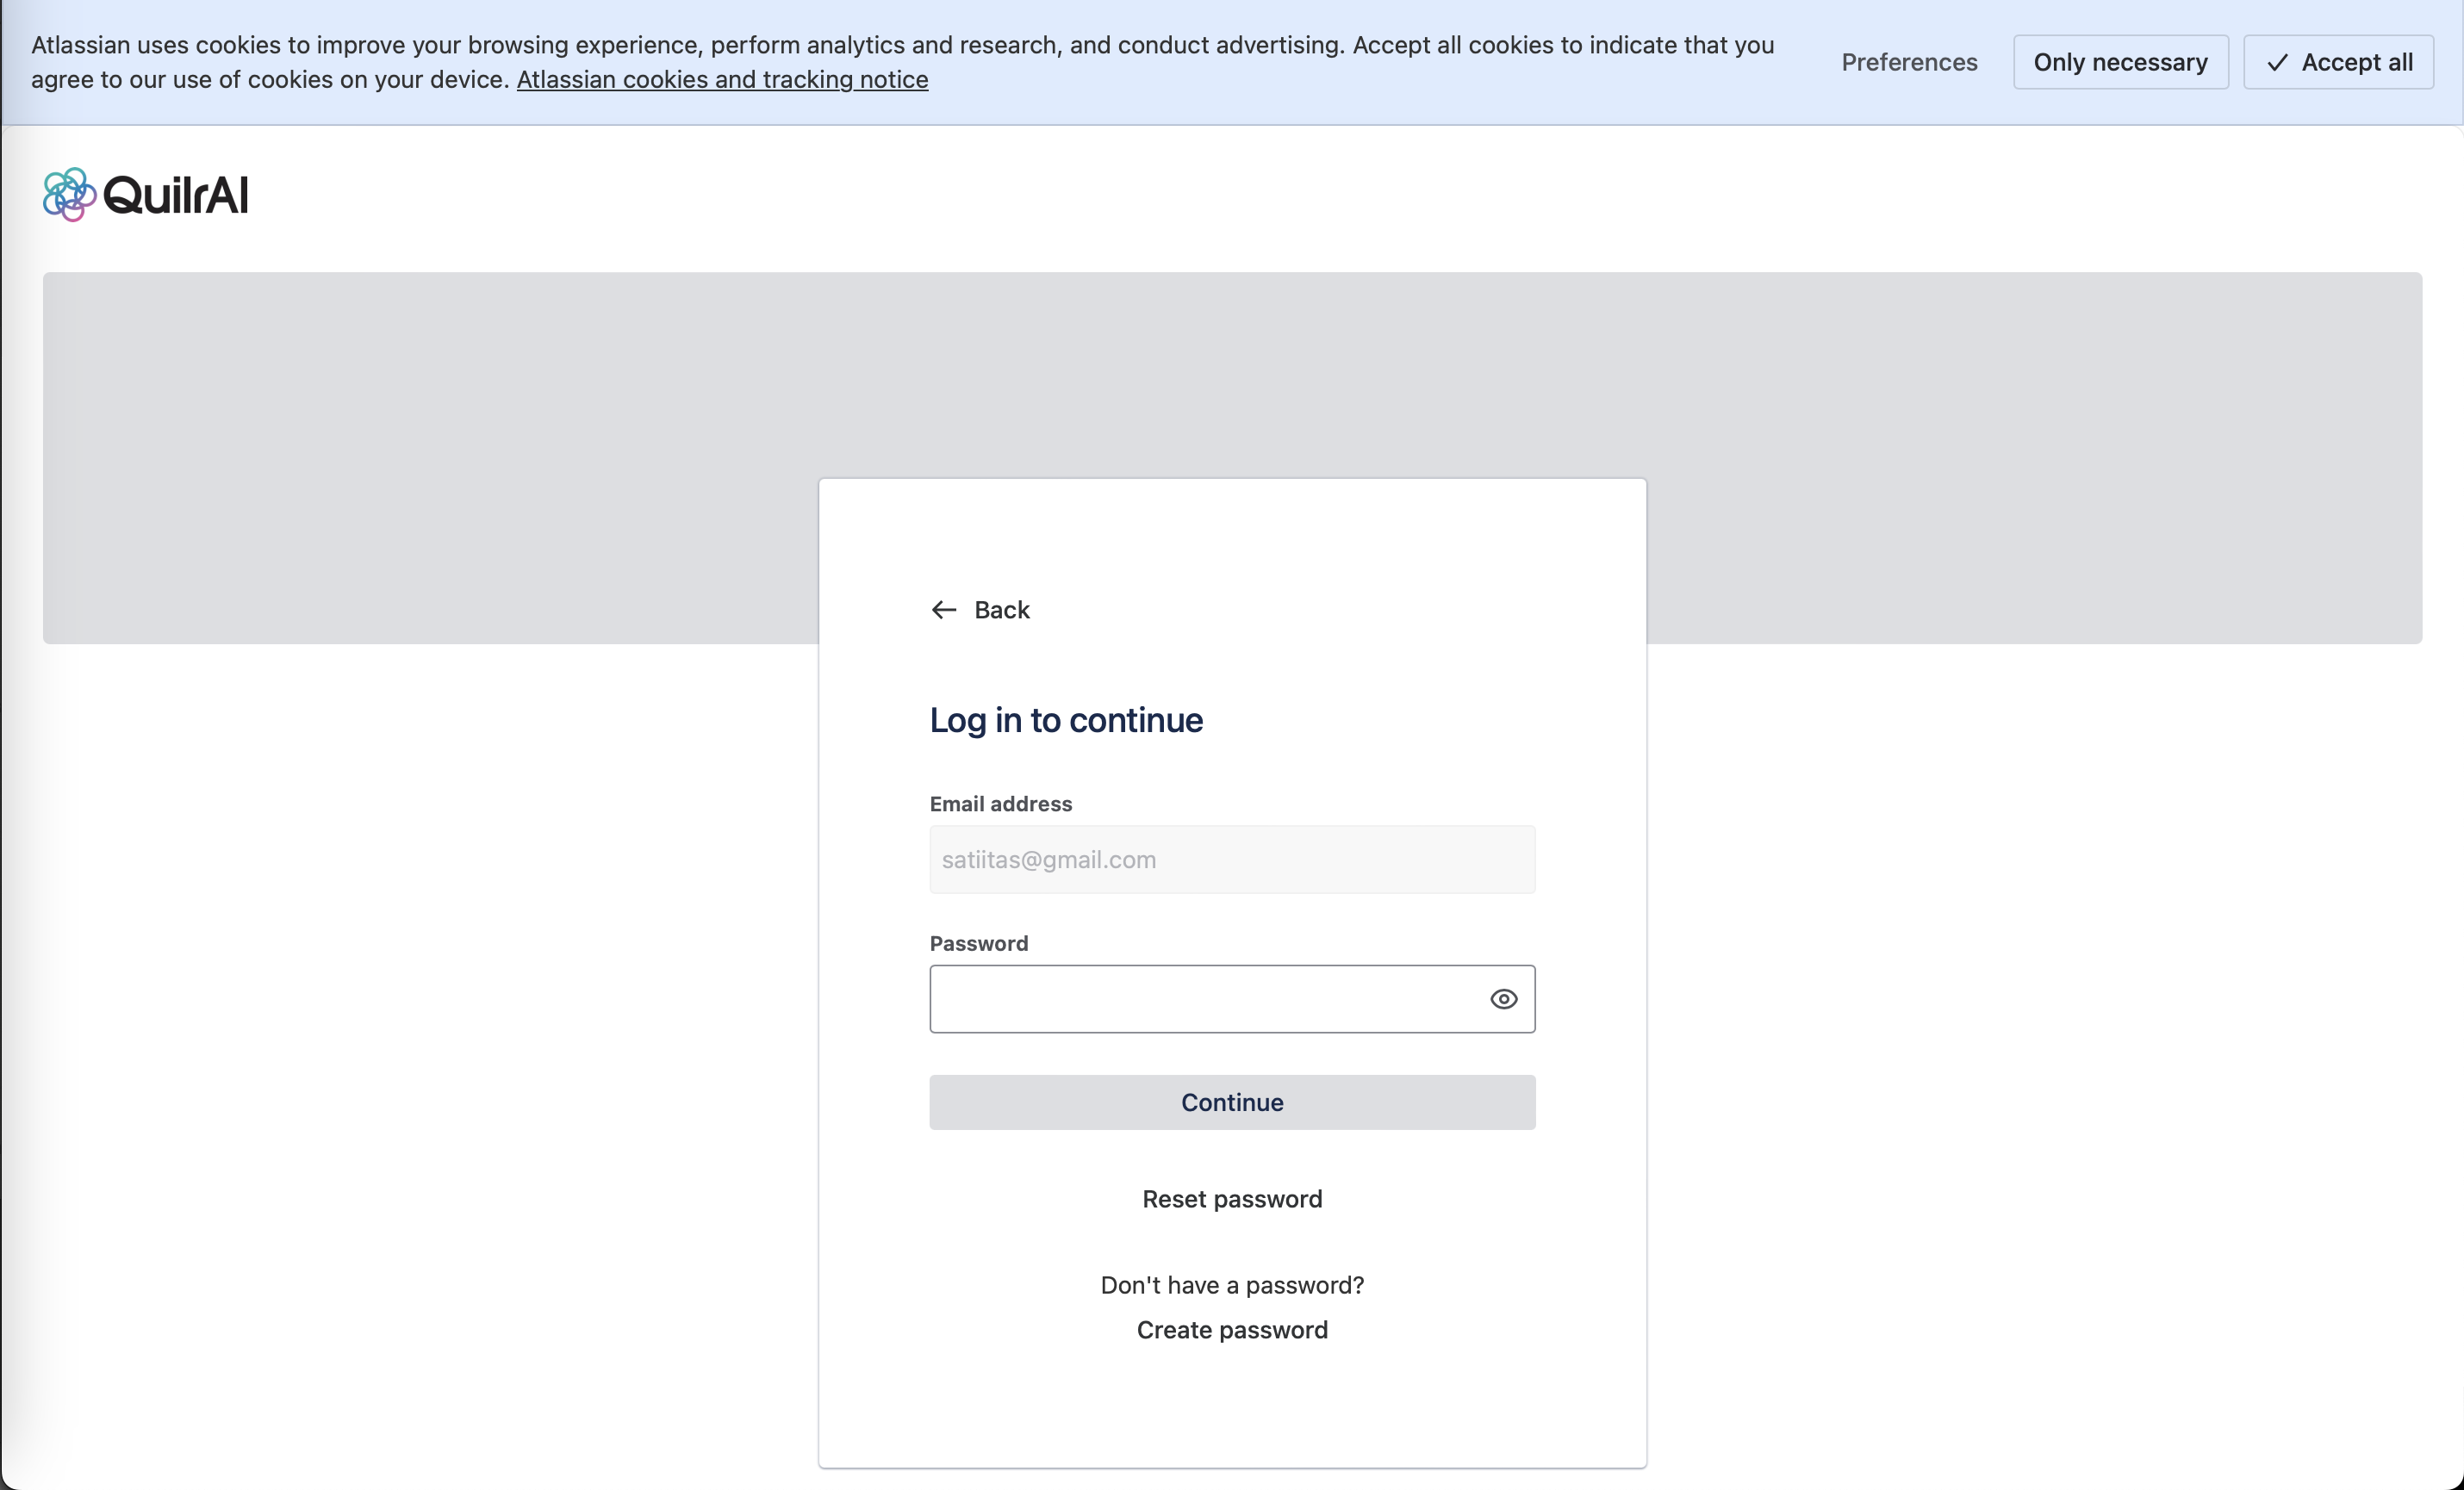
- Enter your password to log in
- Click I do not have a password to receive a reset link
- Click Create password if you haven't set one yet
Step 4: Complete Your First Login
Once your password is set:
- Return to the support portal
- Enter your email and password
- Click to log in
Step 5: Organization Assignment
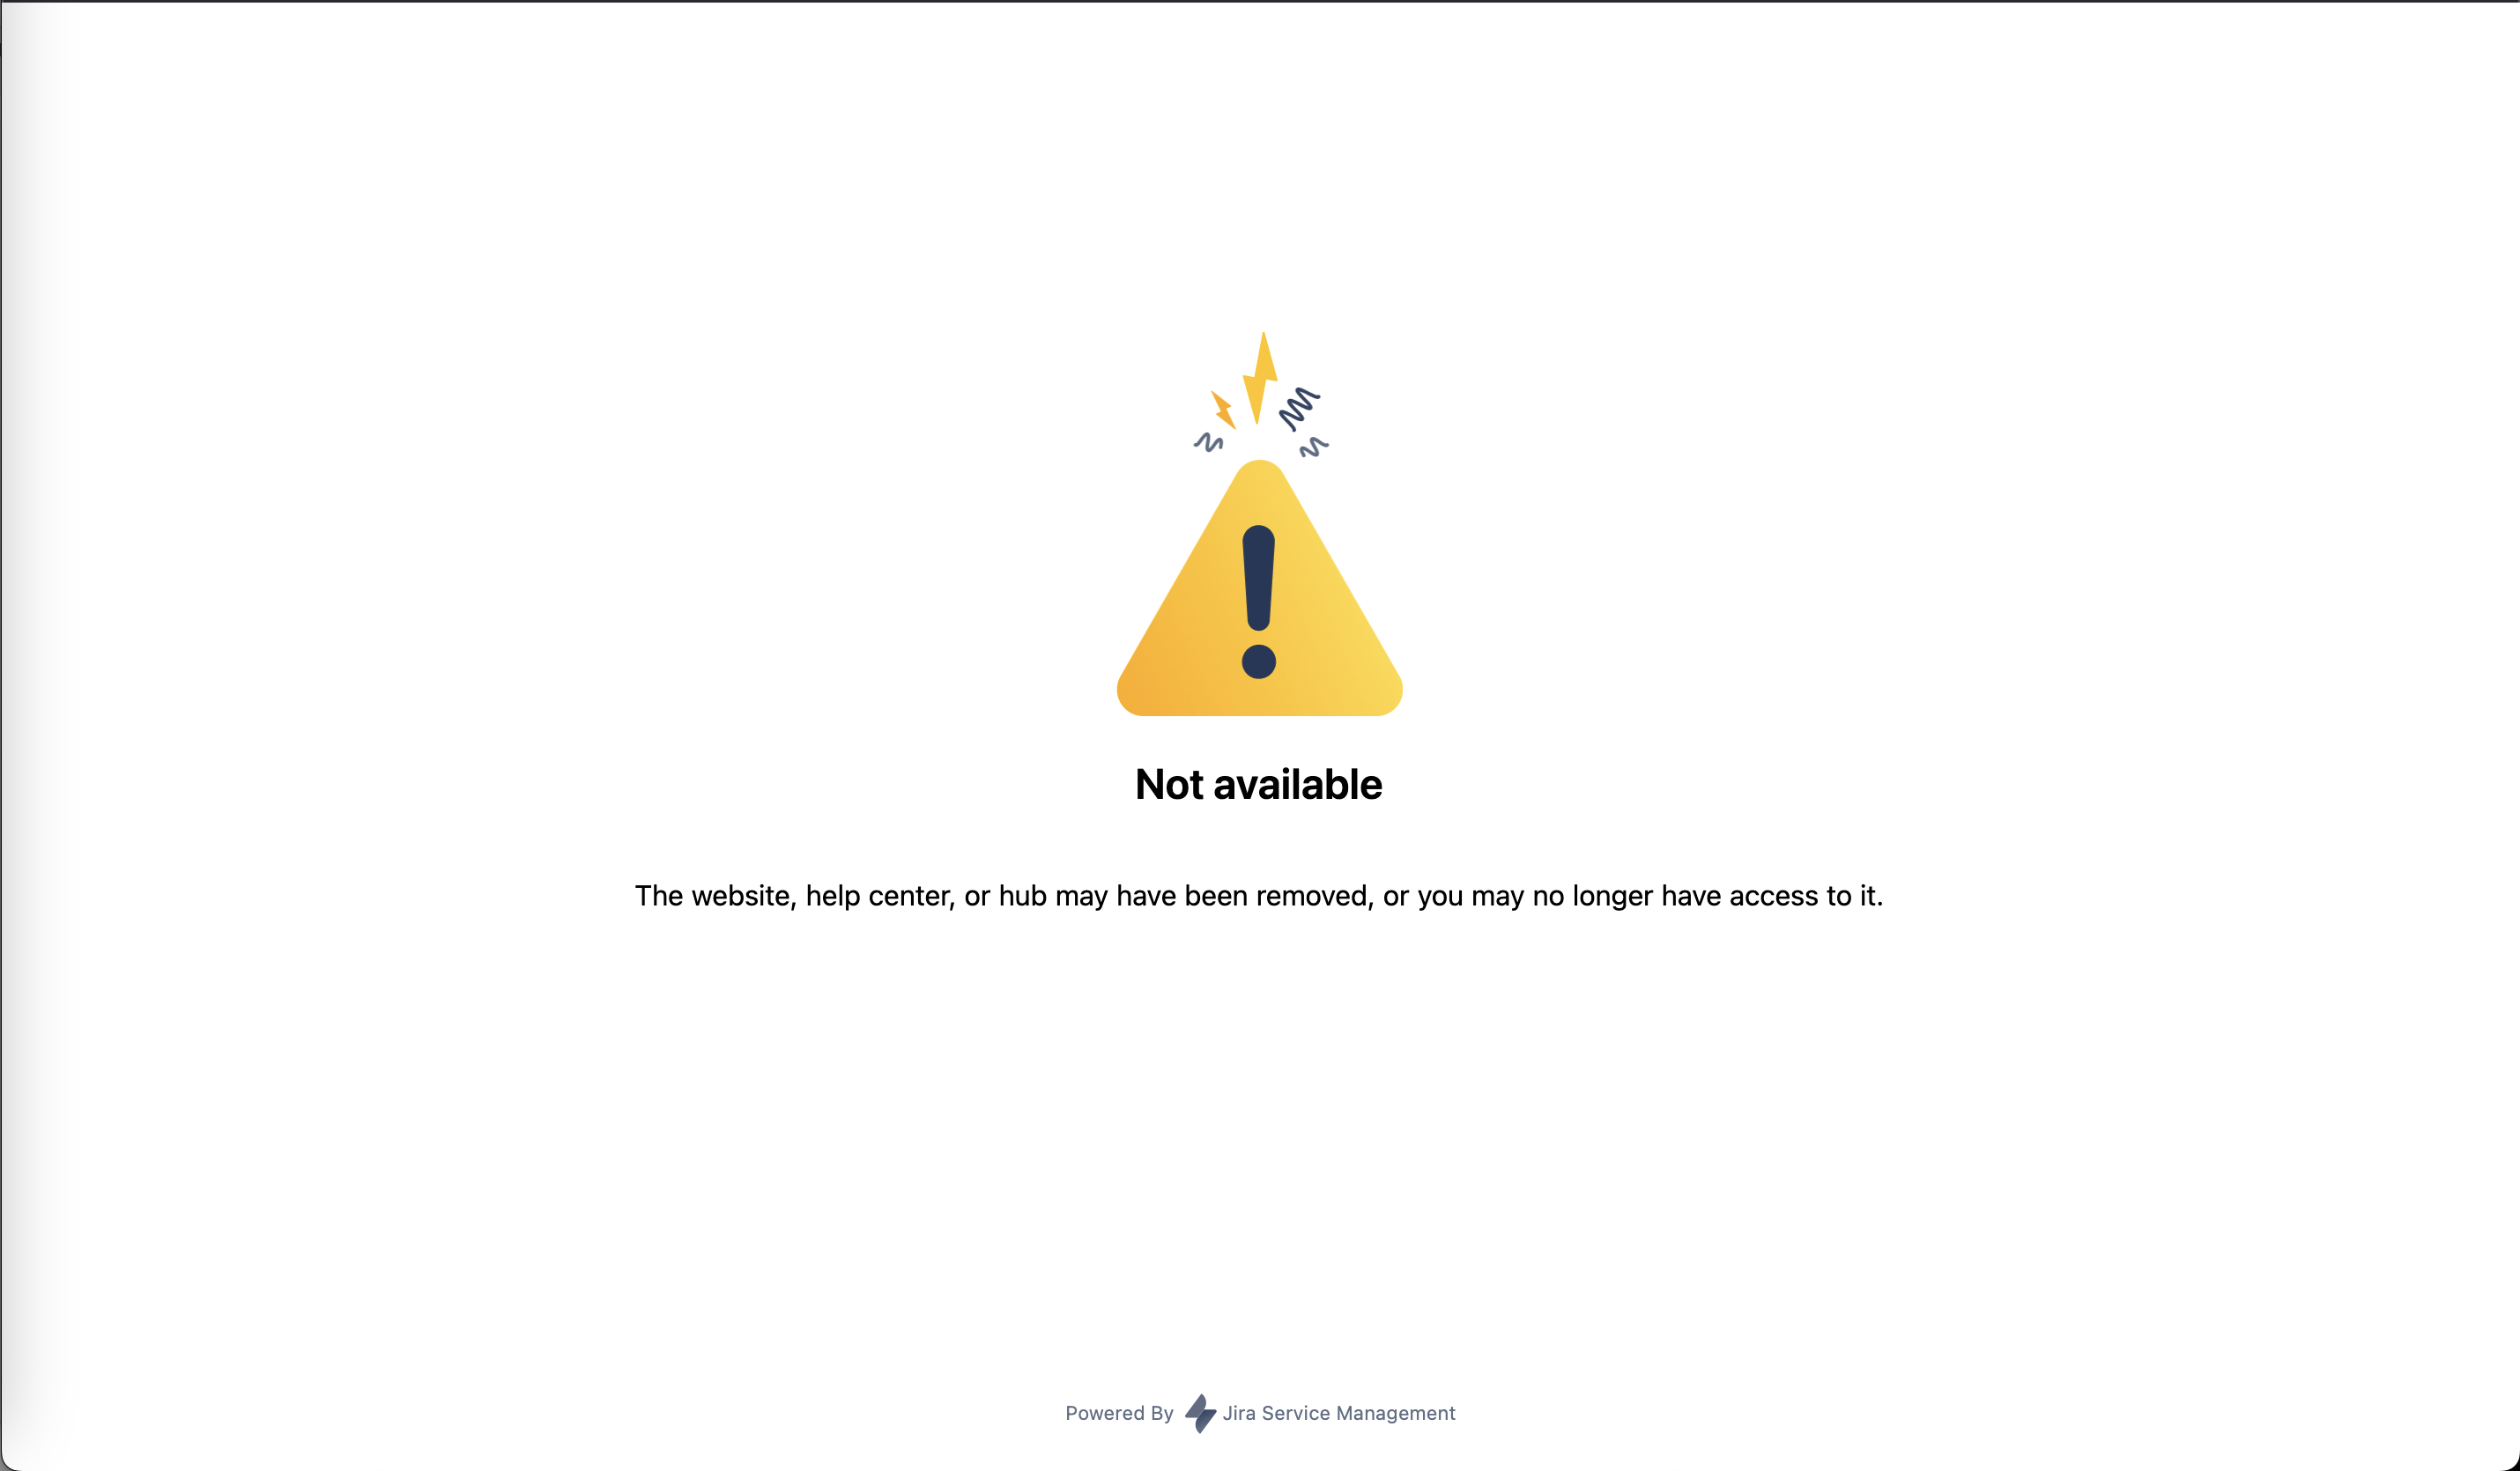
If you see a "Not available" error after signing up, you haven't been assigned to an organization yet. Contact Quilr AI support directly and let them know you've signed up — the team will assign you and you'll have access immediately after.
Filing a Support Ticket
Step 1: Access the Support Home Page
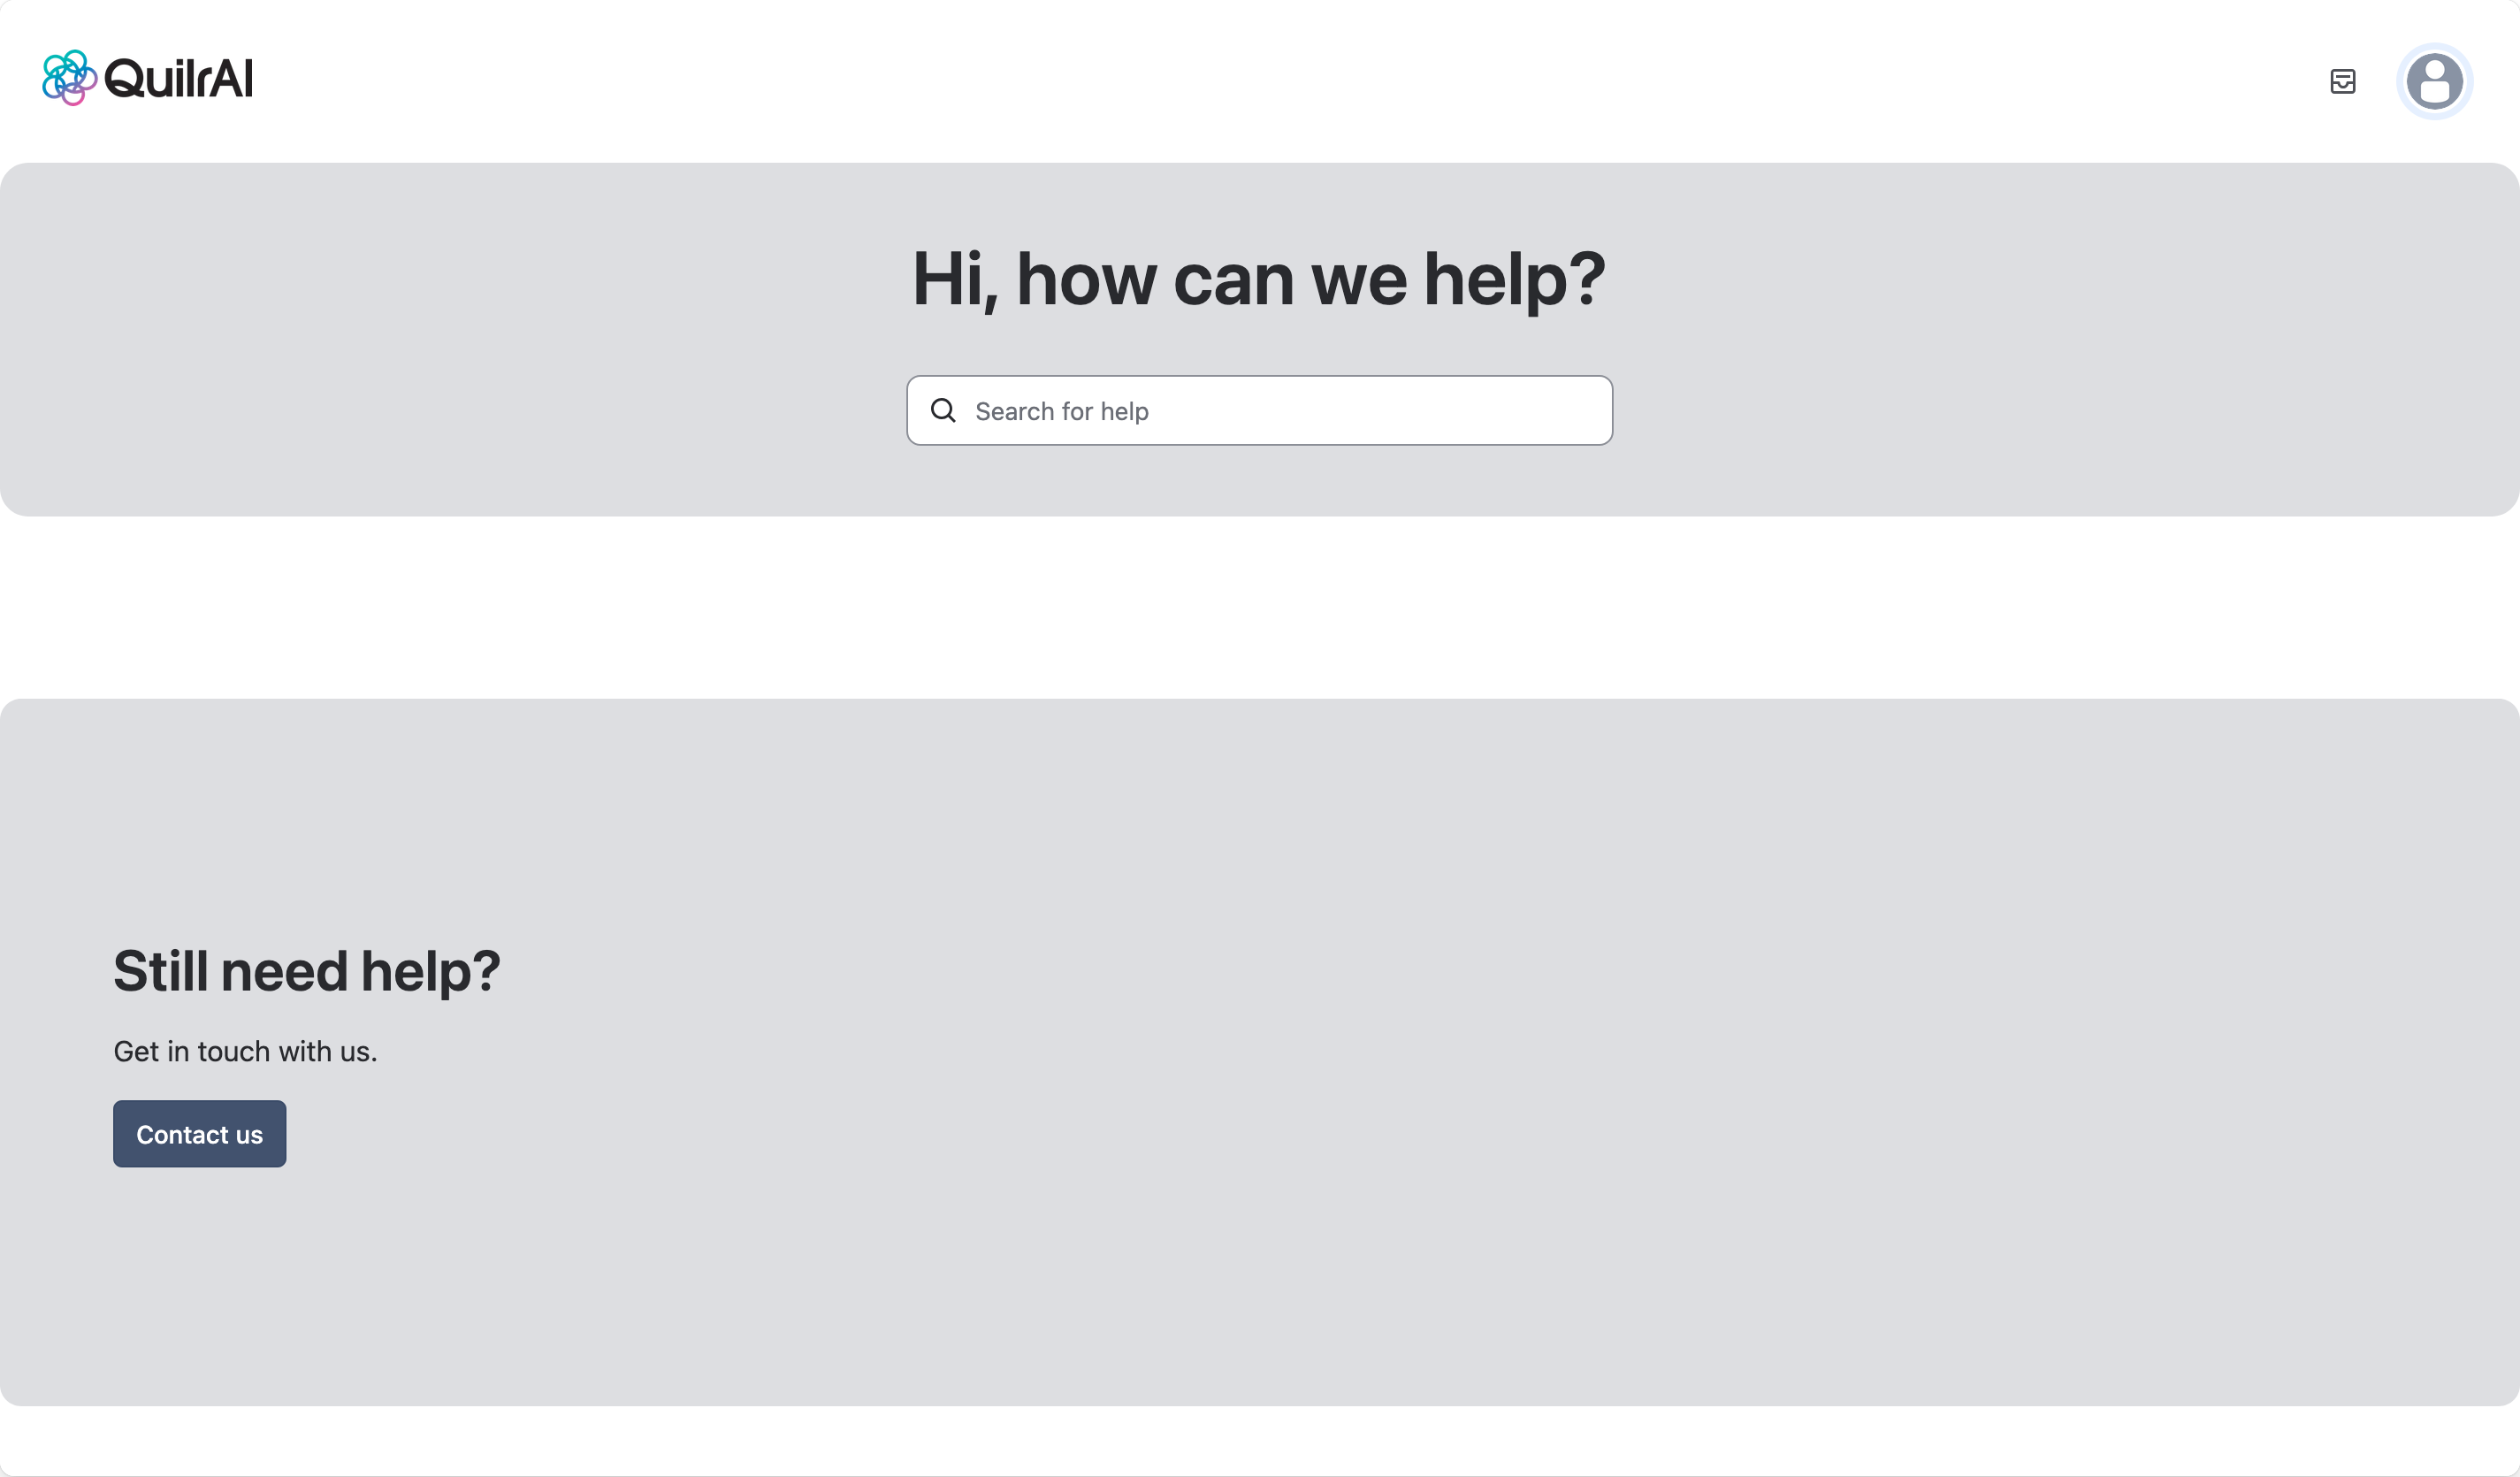
After logging in, you'll see the support home page with a search bar and a Contact us button.
Step 2: Search for Existing Solutions (Optional)
Before creating a ticket, search the knowledge base using the search bar — you may find an instant answer without needing to wait for a response.
Step 3: Click "Contact us"
If you need personalized help, click the Contact us button at the bottom of the page.
Step 4: Choose Your Request Type
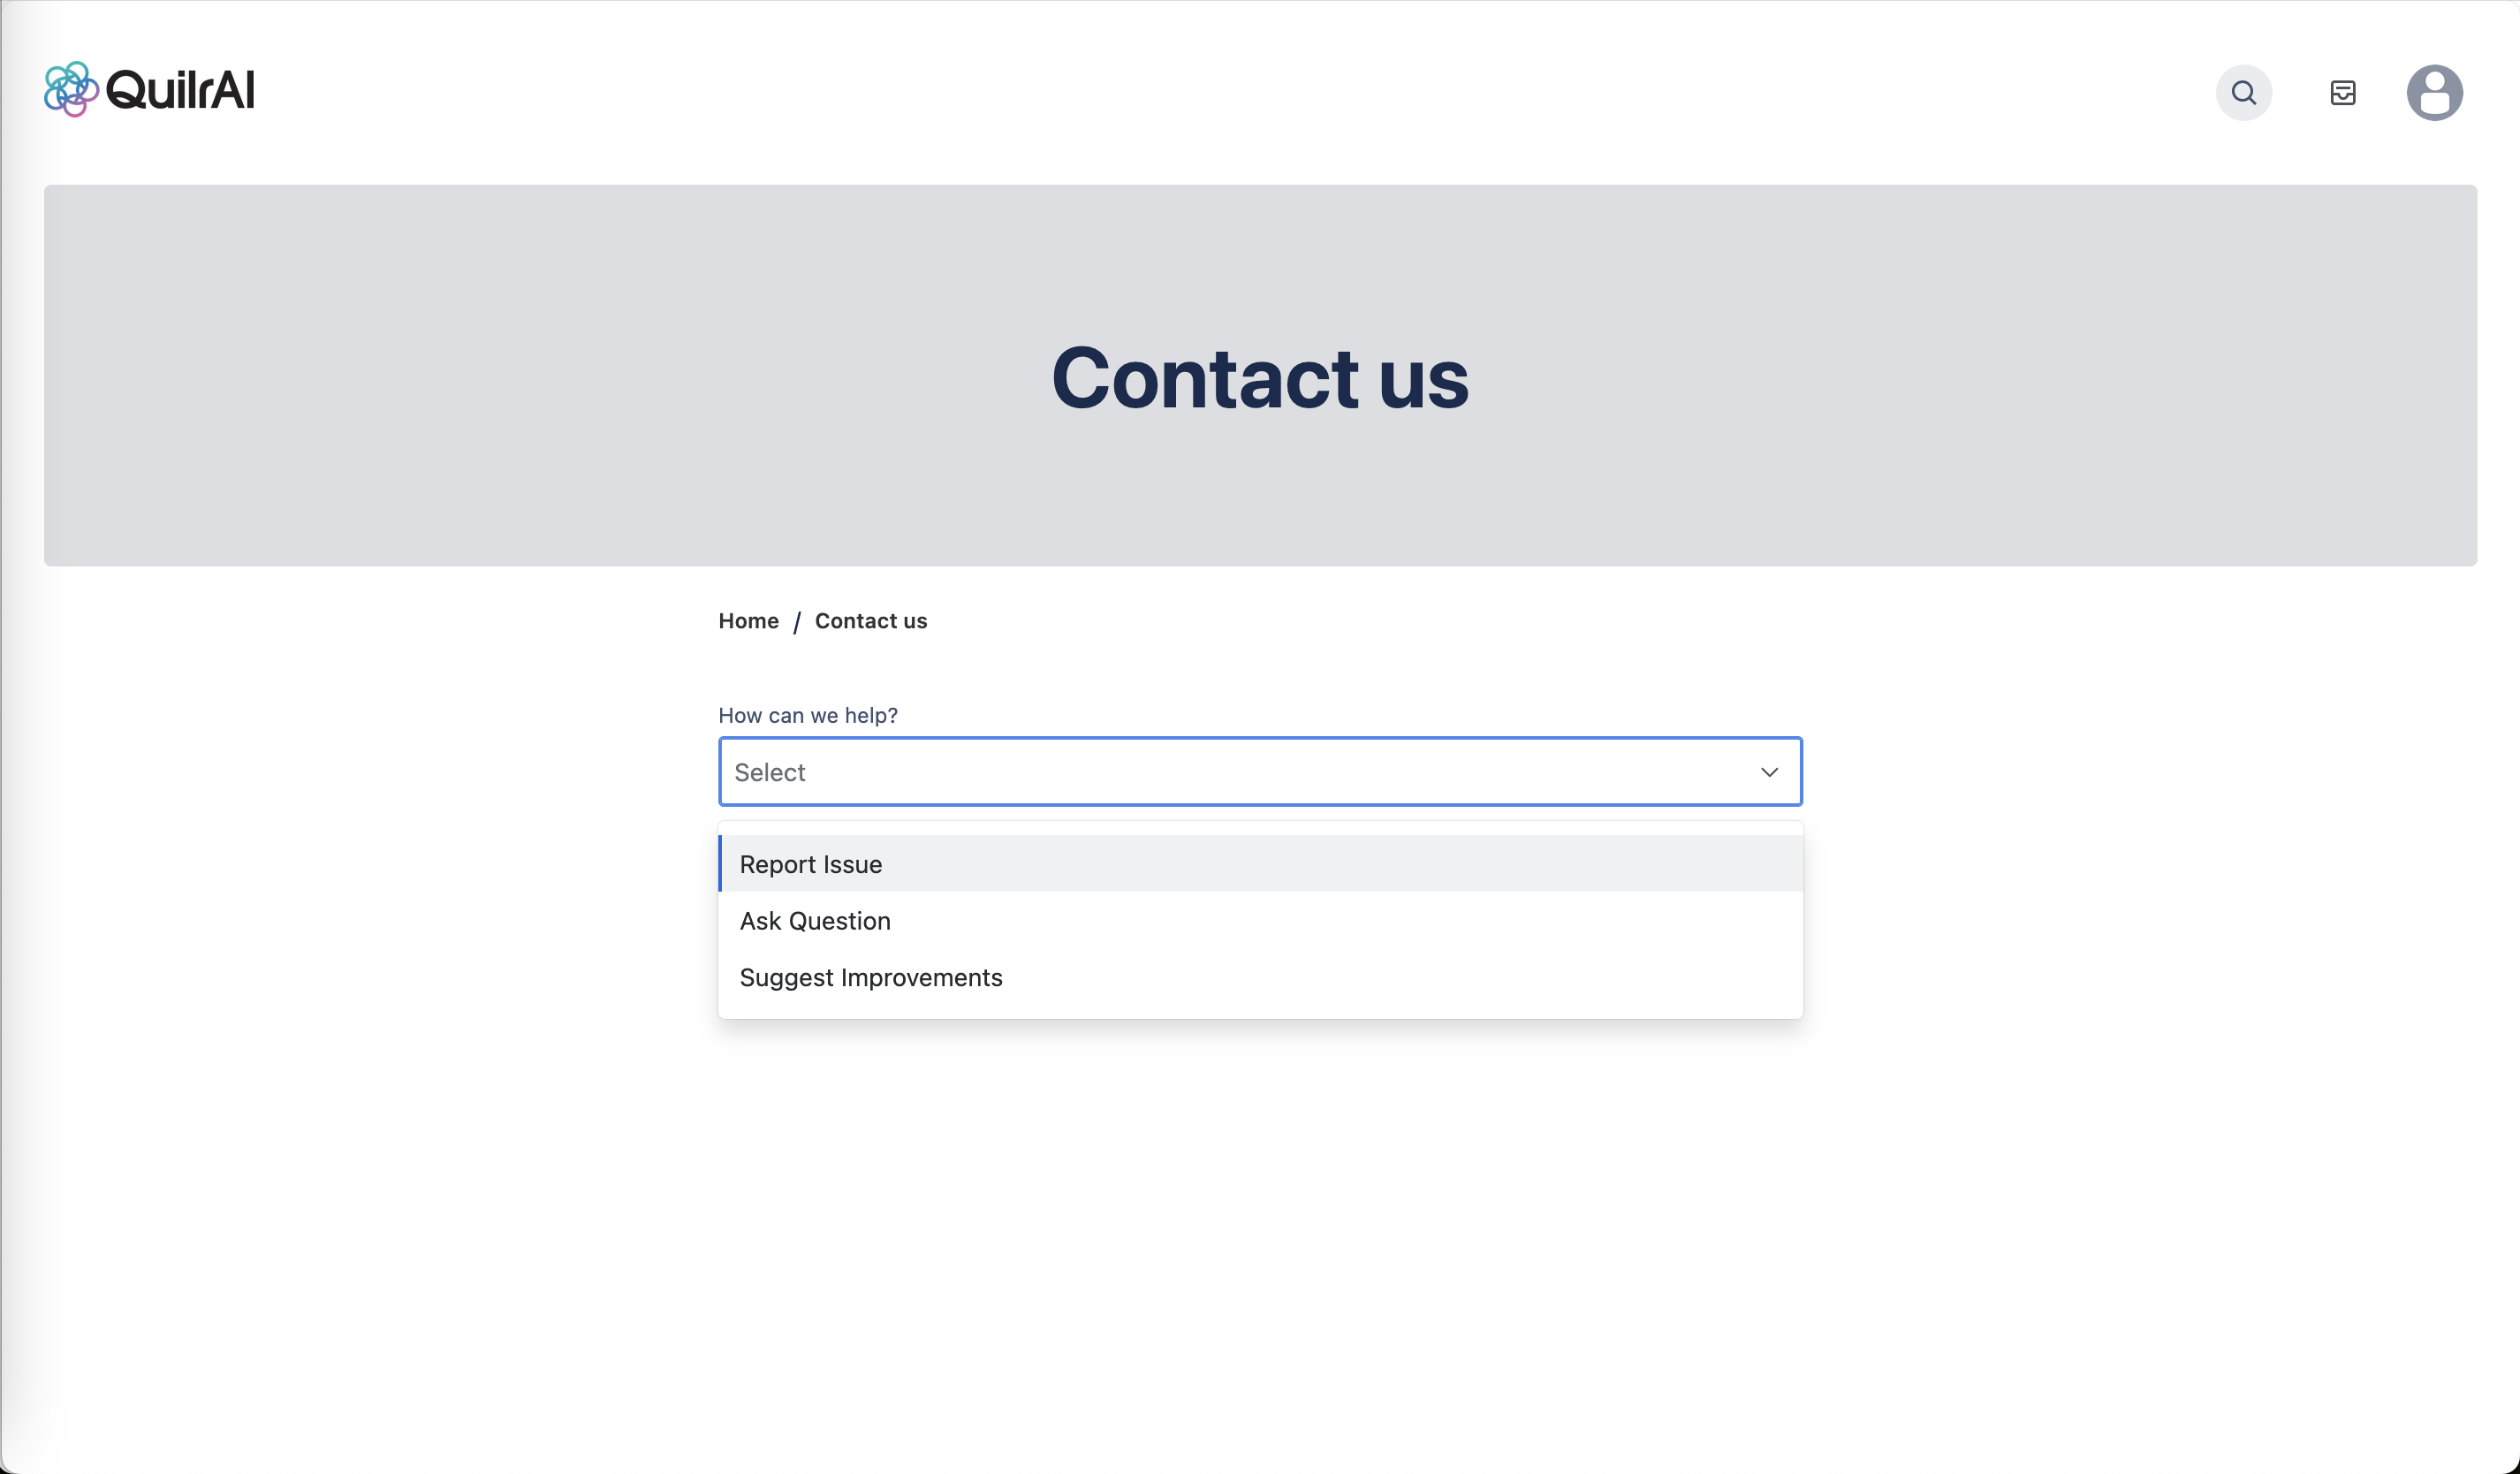
Select from three request types:
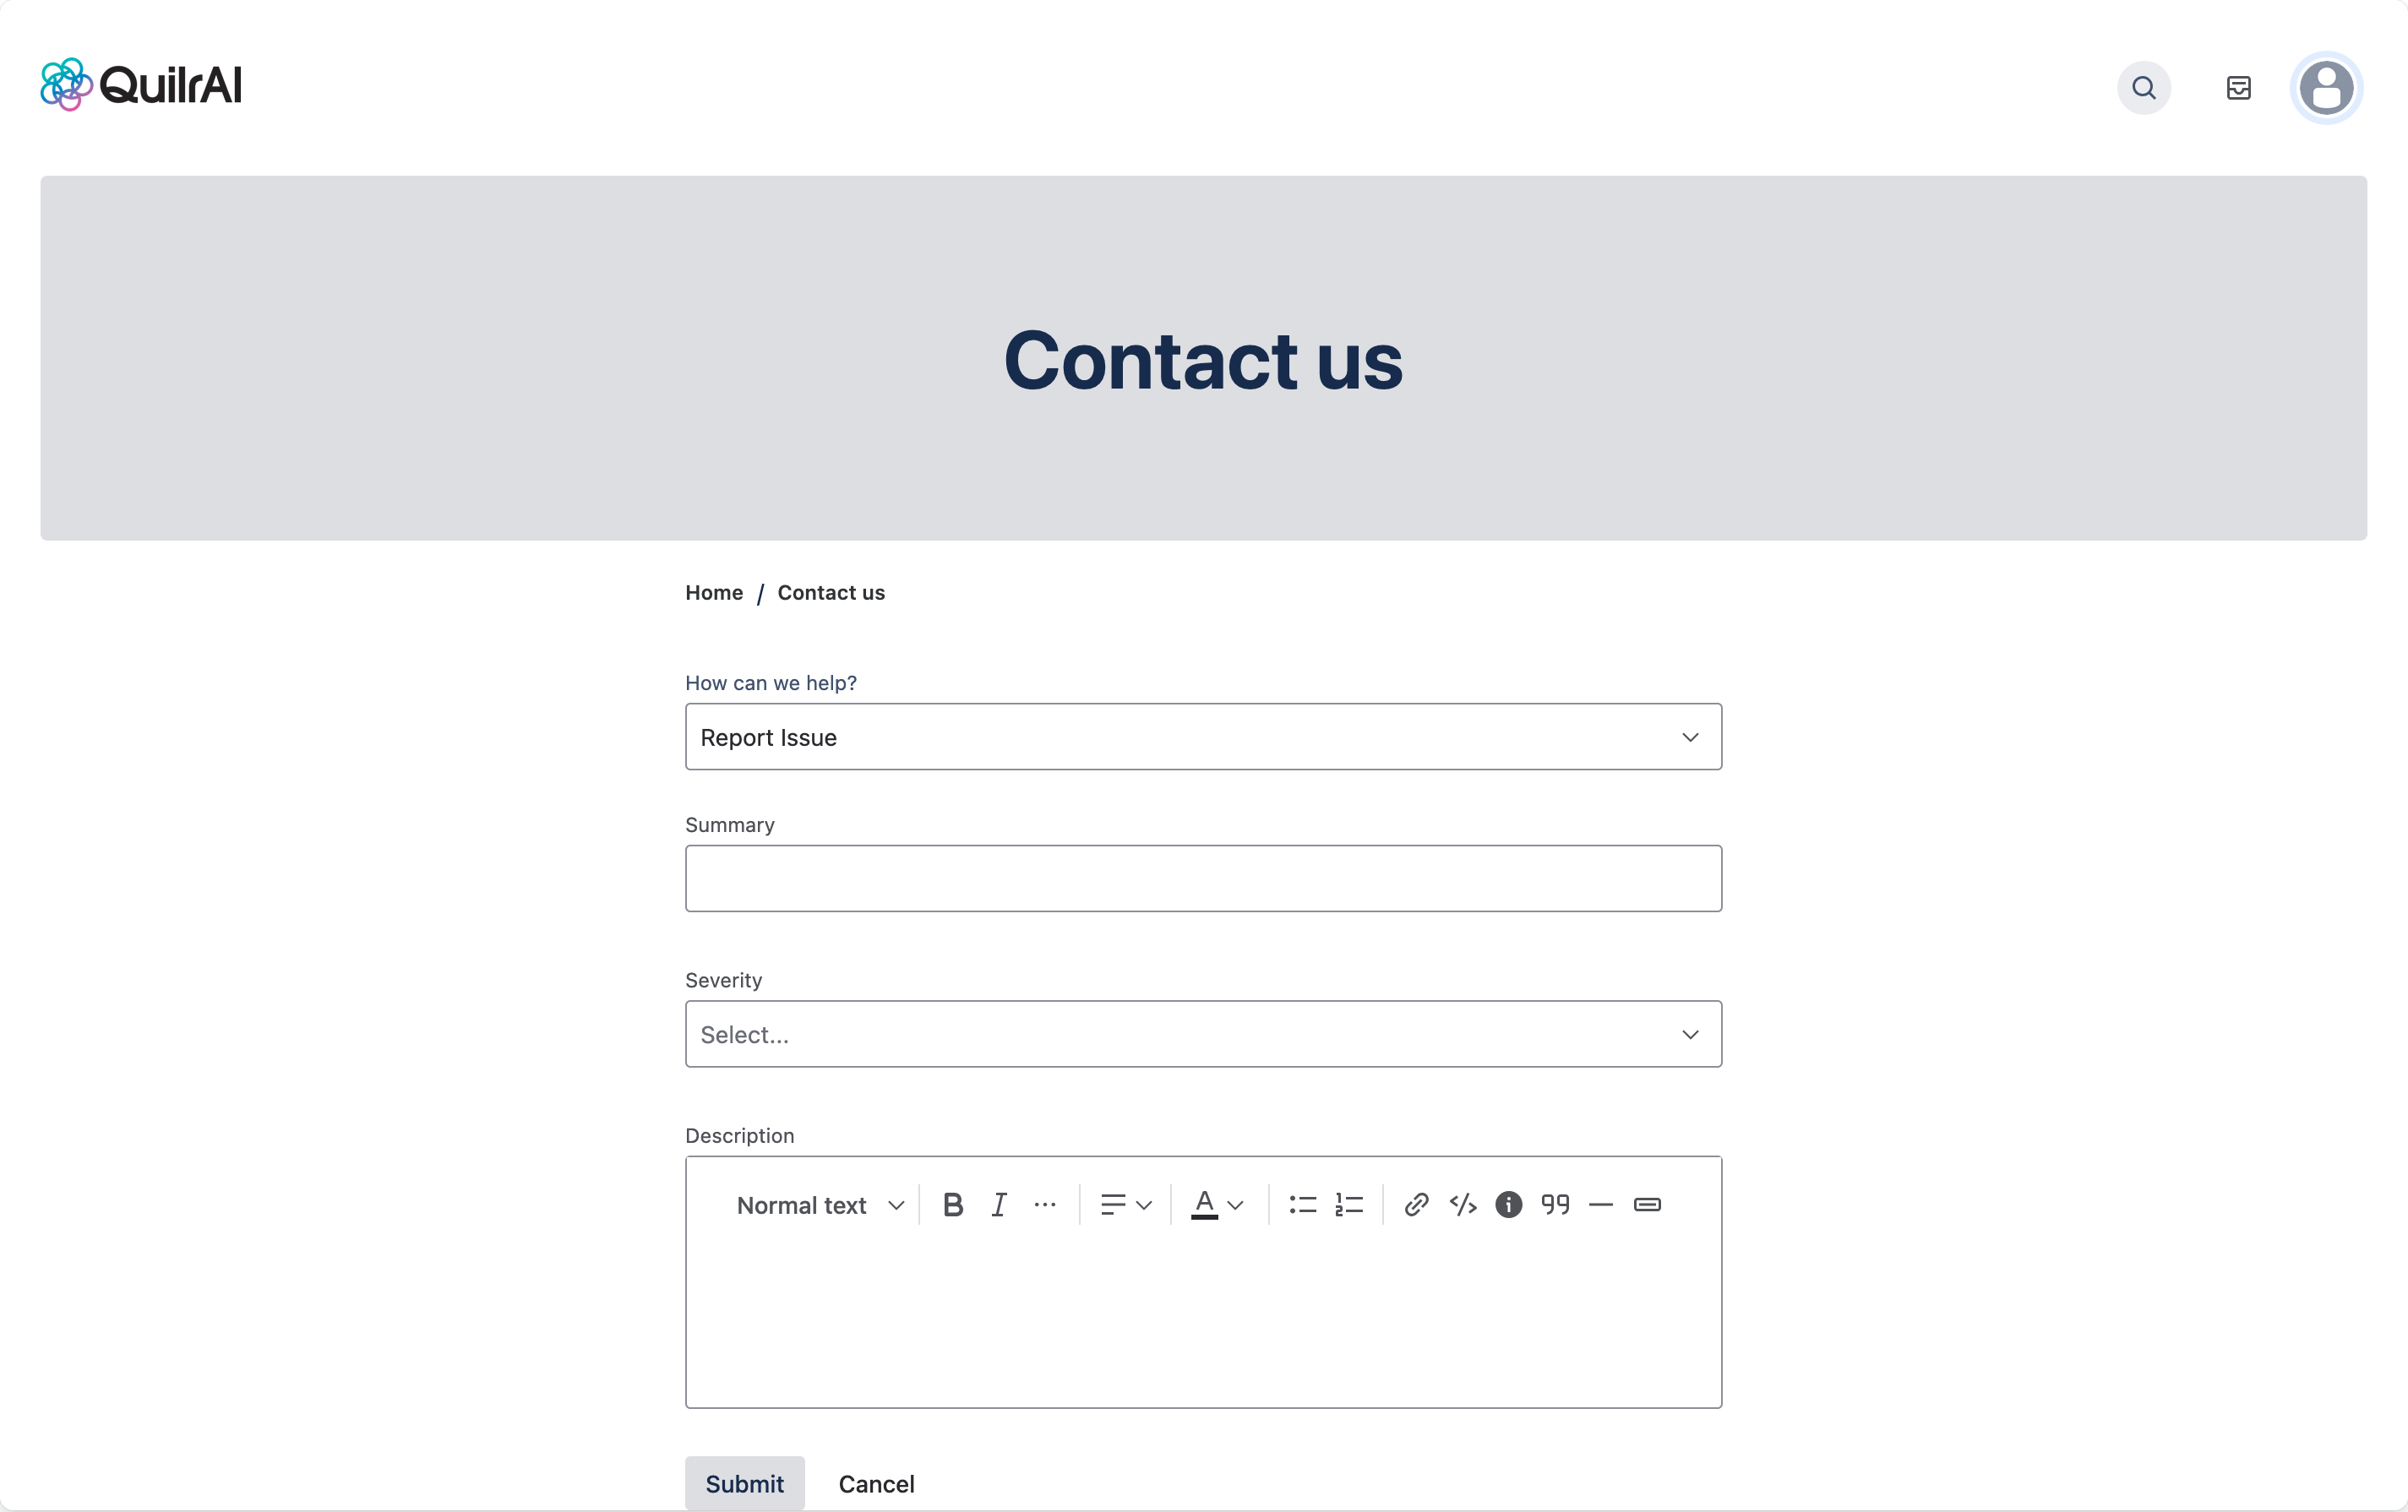
Report Issue — Use when something isn't working correctly: bugs, errors, or broken features. Includes a severity field.
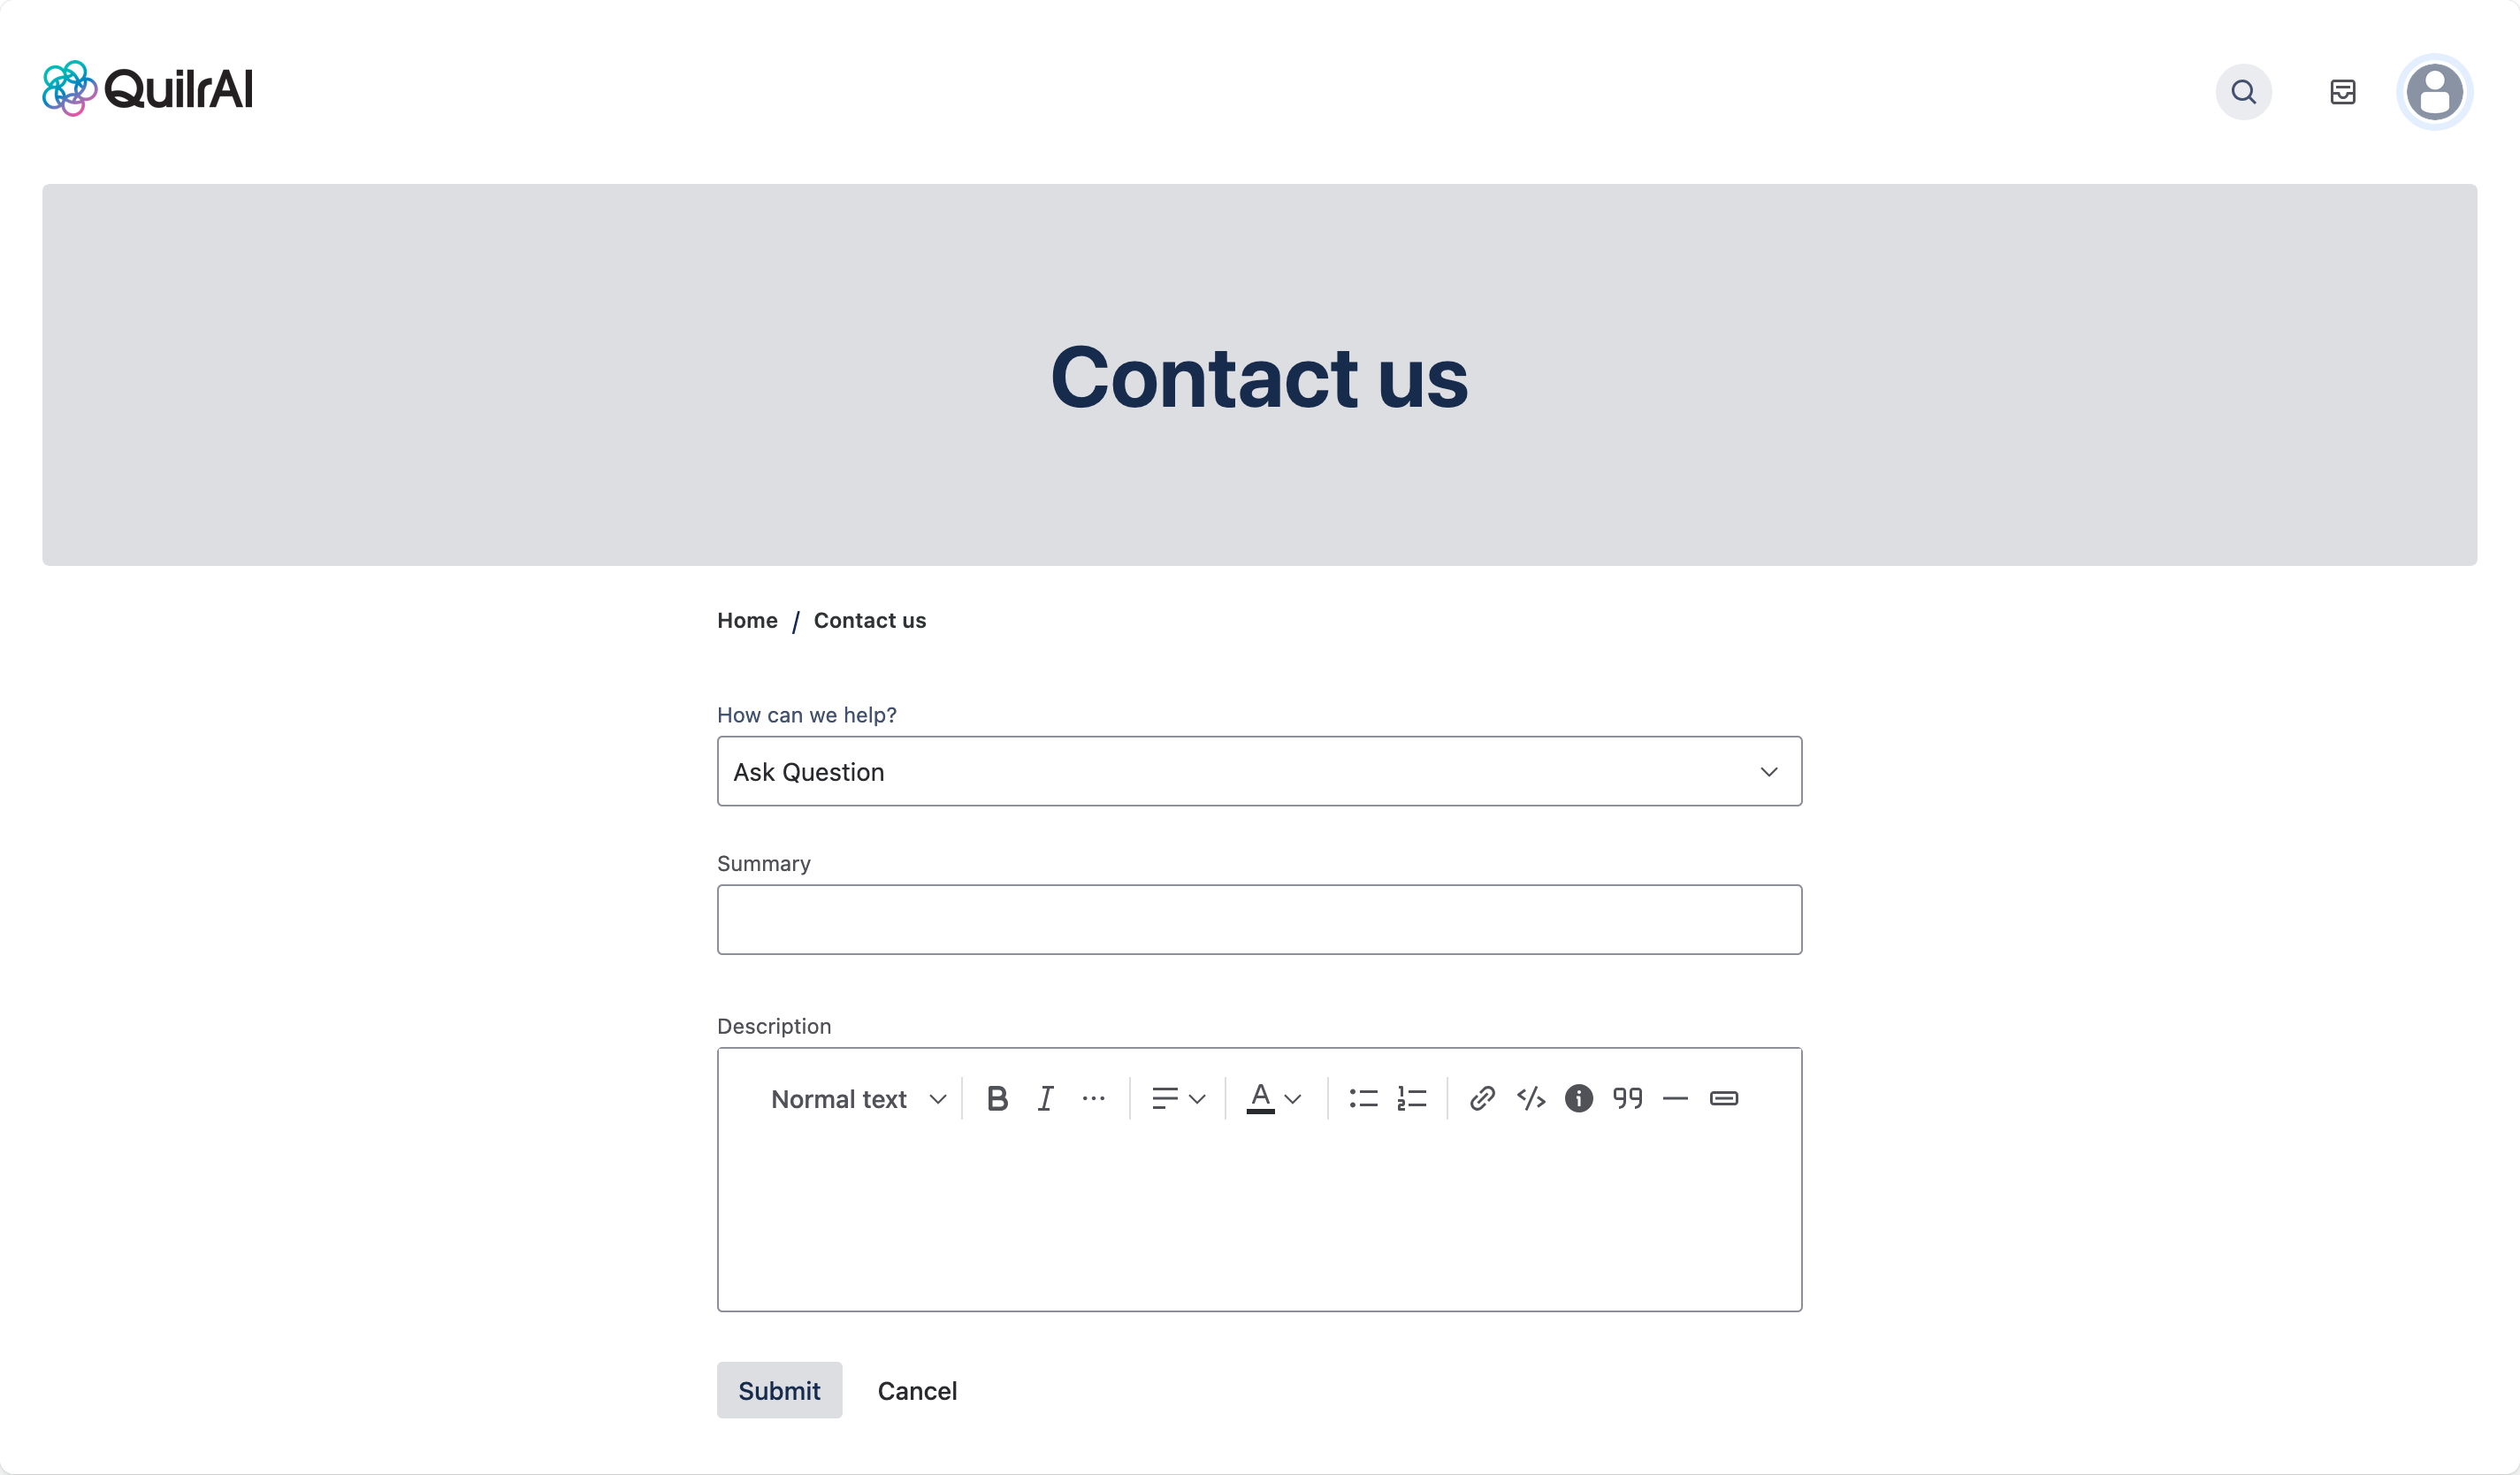
Ask Question — Use for how-to questions or clarification on features.
Suggest Improvements — Use to share ideas, feature requests, or feedback on existing functionality.
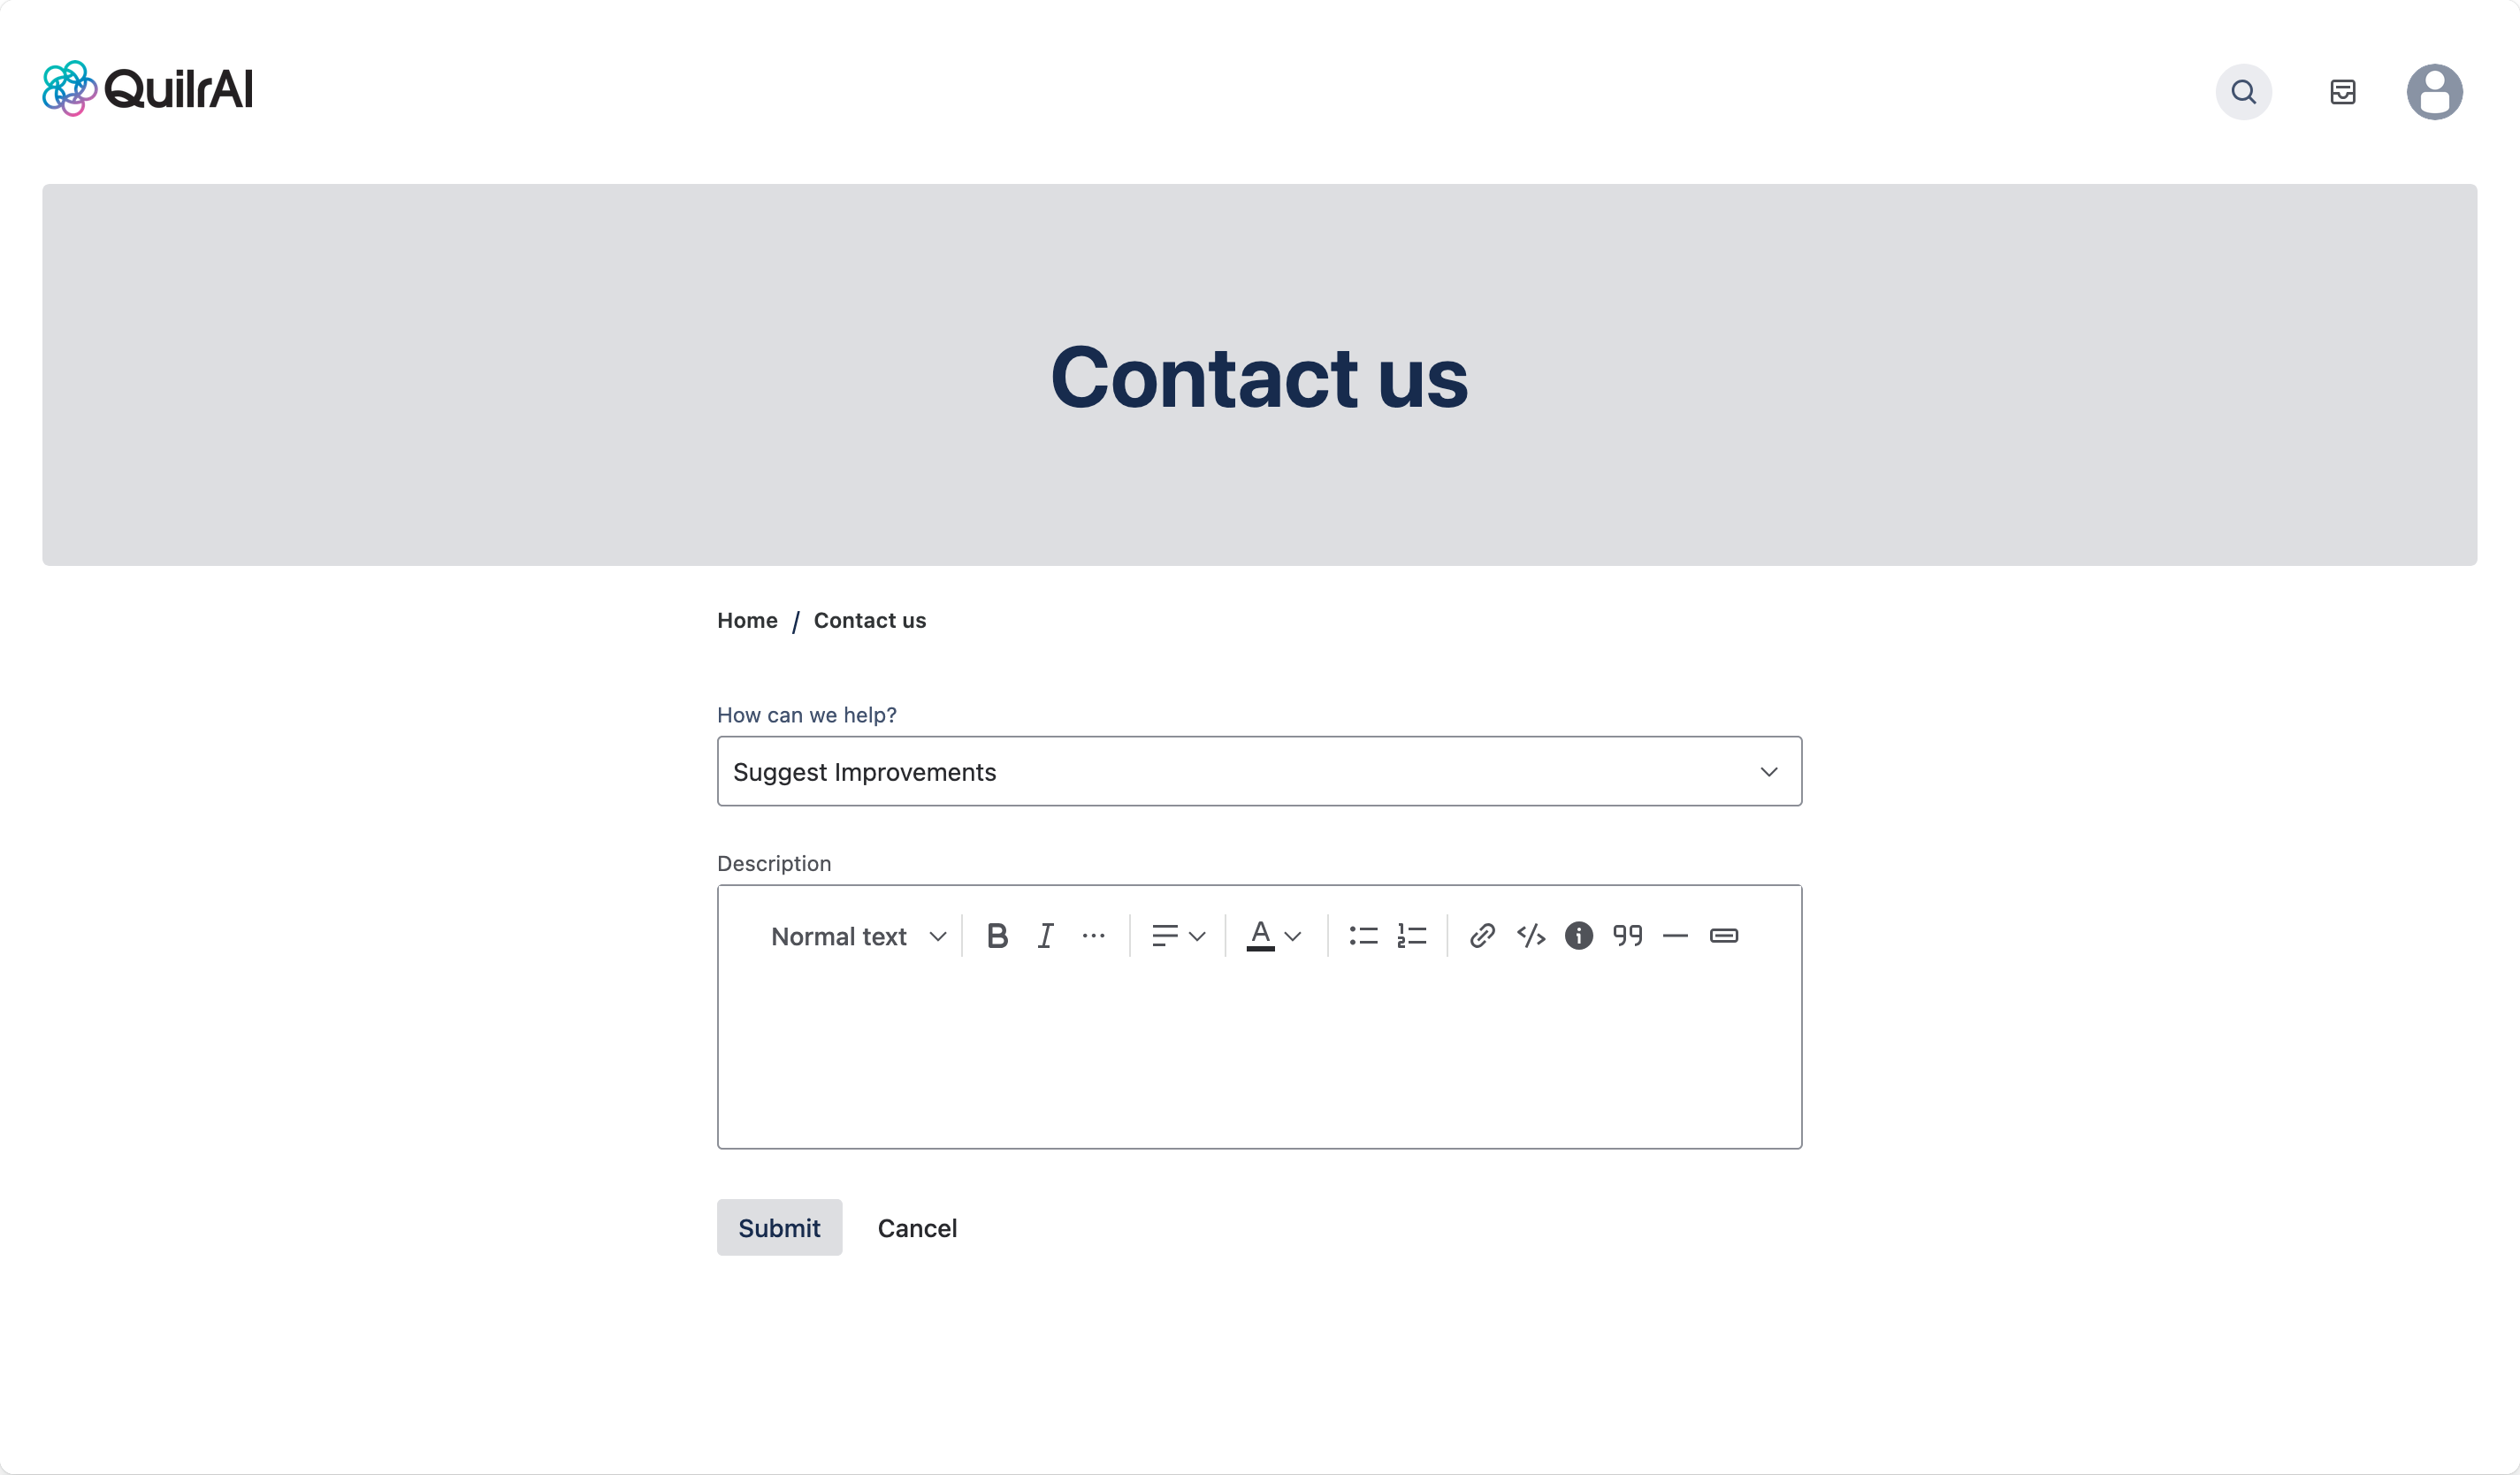
Step 5: Fill Out Your Ticket
Summary — Write a clear, concise title. Good examples:
- "Login button not responding on mobile"
- "How do I export data to CSV?"
- "Suggestion: Add dark mode option"
Description — Include:
- What you were trying to do
- What happened instead
- What you expected to happen
- Steps to reproduce (for issues)
- Screenshots or error messages
Severity (Report Issue only) — Select the urgency level to help the team prioritize your request.
The more detail you provide, the faster the support team can help. Think of it as explaining the situation to someone who wasn't there with you.
Step 6: Attach Files (Optional)
You can attach screenshots, PDFs, log files, or any other relevant file. Use the attachment icon in the description editor or drag and drop files directly.
Supported types include PNG, JPG, GIF, PDF, TXT, and log files.
Step 7: Submit Your Ticket
Click Submit — you'll receive a confirmation email immediately with your ticket ID.
Managing Your Tickets
Email Notifications
After submitting a ticket you'll receive:
- Immediate: Confirmation email with your ticket ID
- On update: Notification whenever the support team responds or updates the ticket
- On resolution: Email when your ticket is closed
Responding to Your Ticket
Via email: Reply directly to any notification email — your response is added to the ticket automatically. You can also attach files to email replies.
Via portal: Log in, open your ticket, and add a comment directly in the thread.
Email replies are the quickest way to respond. Just hit reply on any notification email and the team will get your message instantly.
Viewing Your Tickets
When you log into the portal you can:
- See all open tickets and their current status
- View full ticket history and all comments
- Check which organization members are viewing a shared ticket
Shared Tickets
If a ticket is shared with your organization:
- All organization members can view it and receive updates
- Reduces duplicate tickets for issues affecting multiple team members
- Promotes transparency across your team
You can control ticket visibility when creating it — tickets may default to private or shared depending on your organization settings.